Hope springs eternal

Even with slush a sunny day is beautiful.
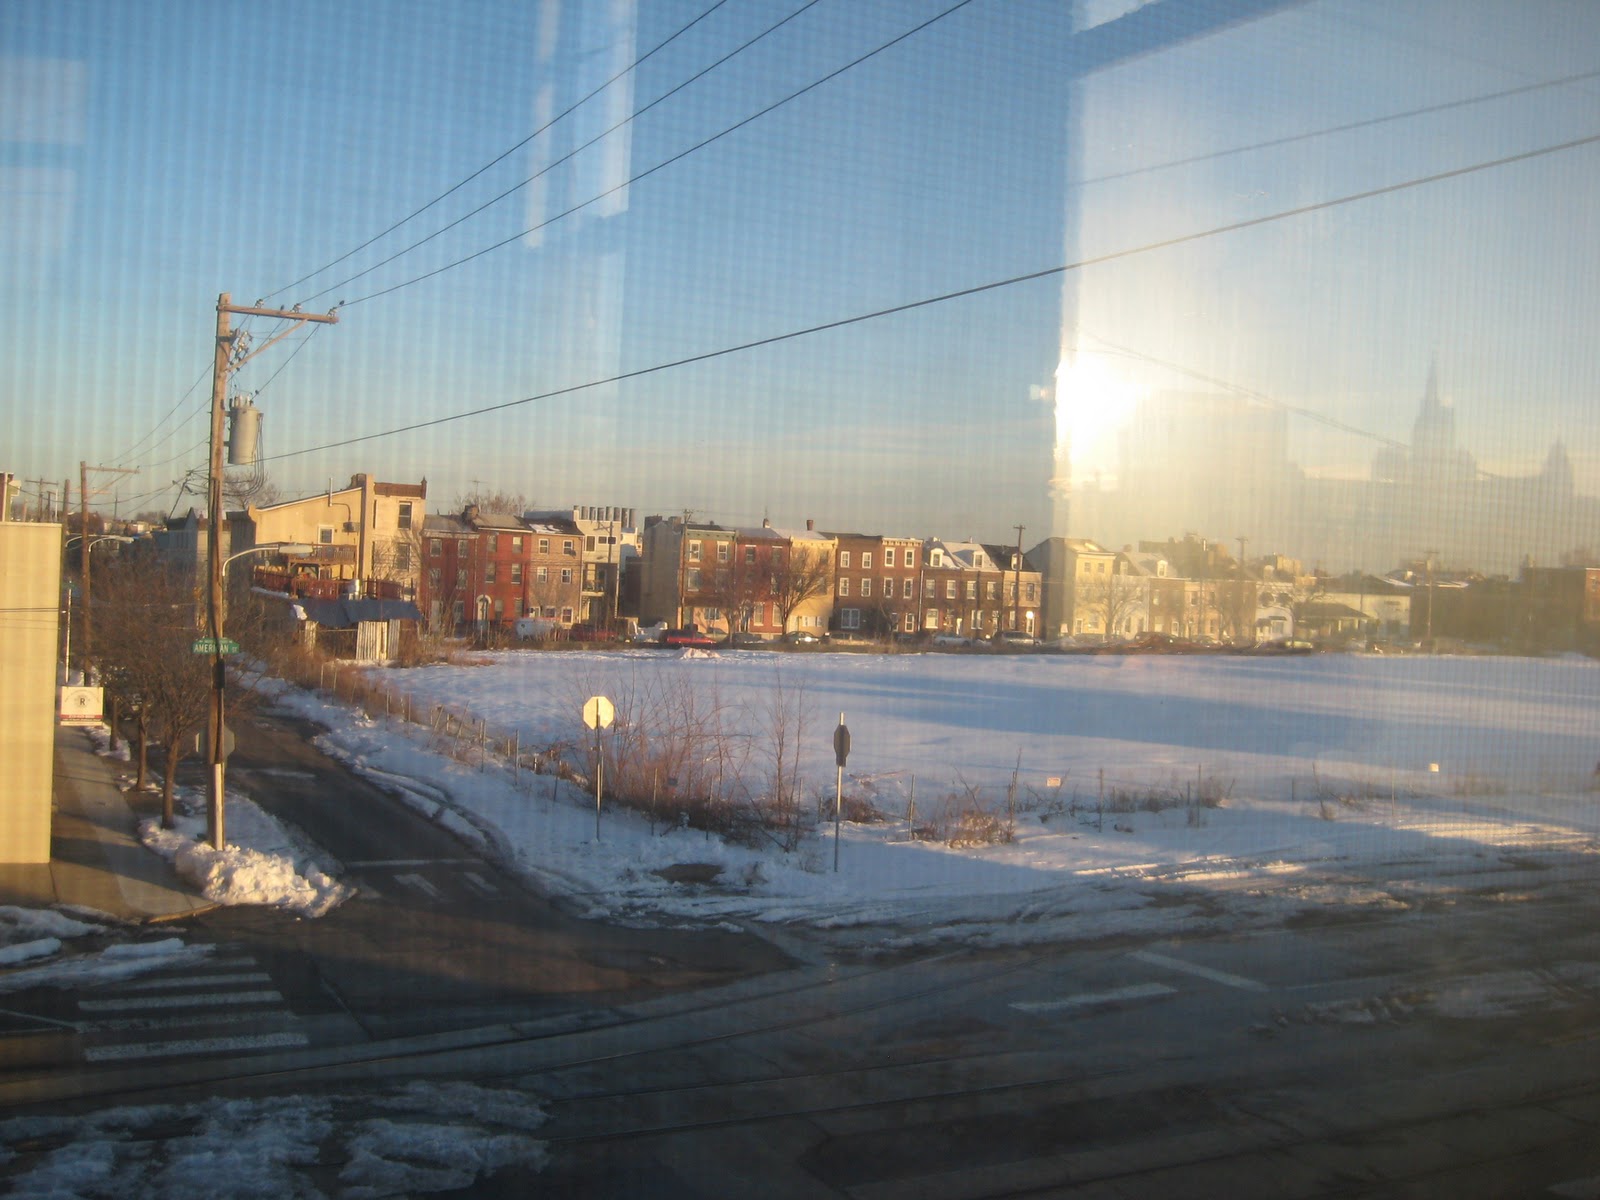
Looking East 5pm

Looking East 5pm

Spent the better part of the day visiting my old stomping grounds observing student teachers in Upper Darby. Nice to see old friends and watch student teachers learn how to make art available to young students. Nicer still to leave before the end of the school day and get to the studio in time to do a little work! I am sure there is a way to eliminate the sun glare on the window, but it helps capture that fleeting time when the shadows stretch blue across the pink snow just before the whole field turns blue.

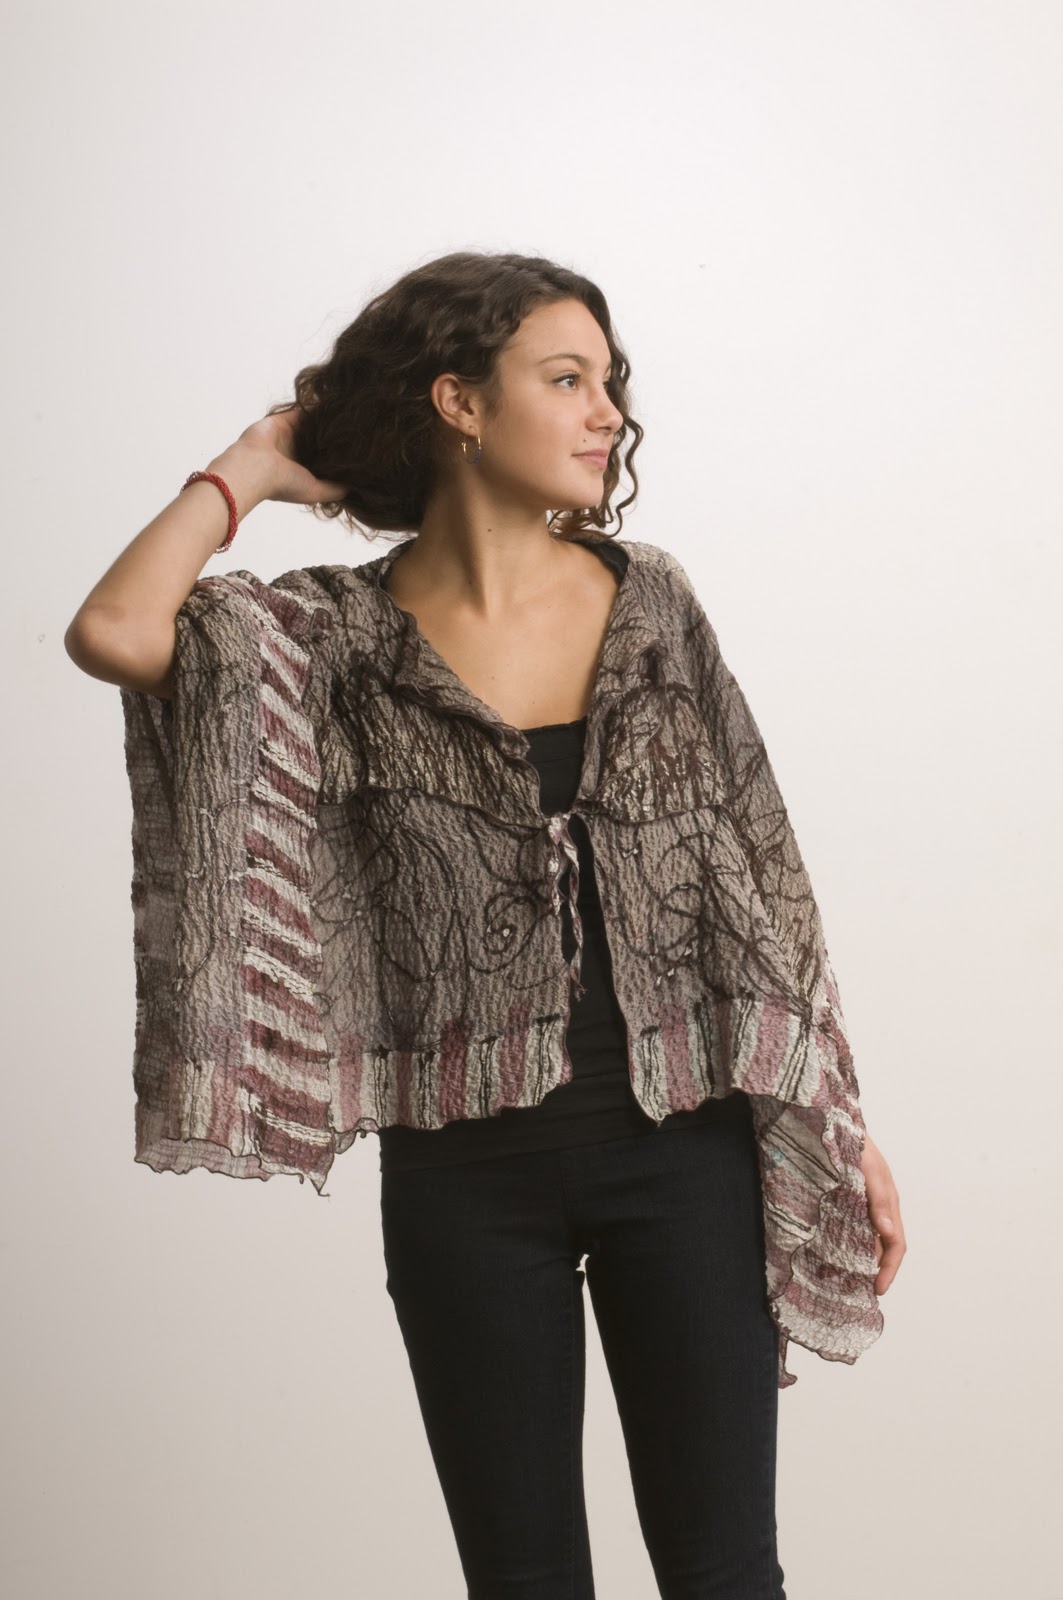
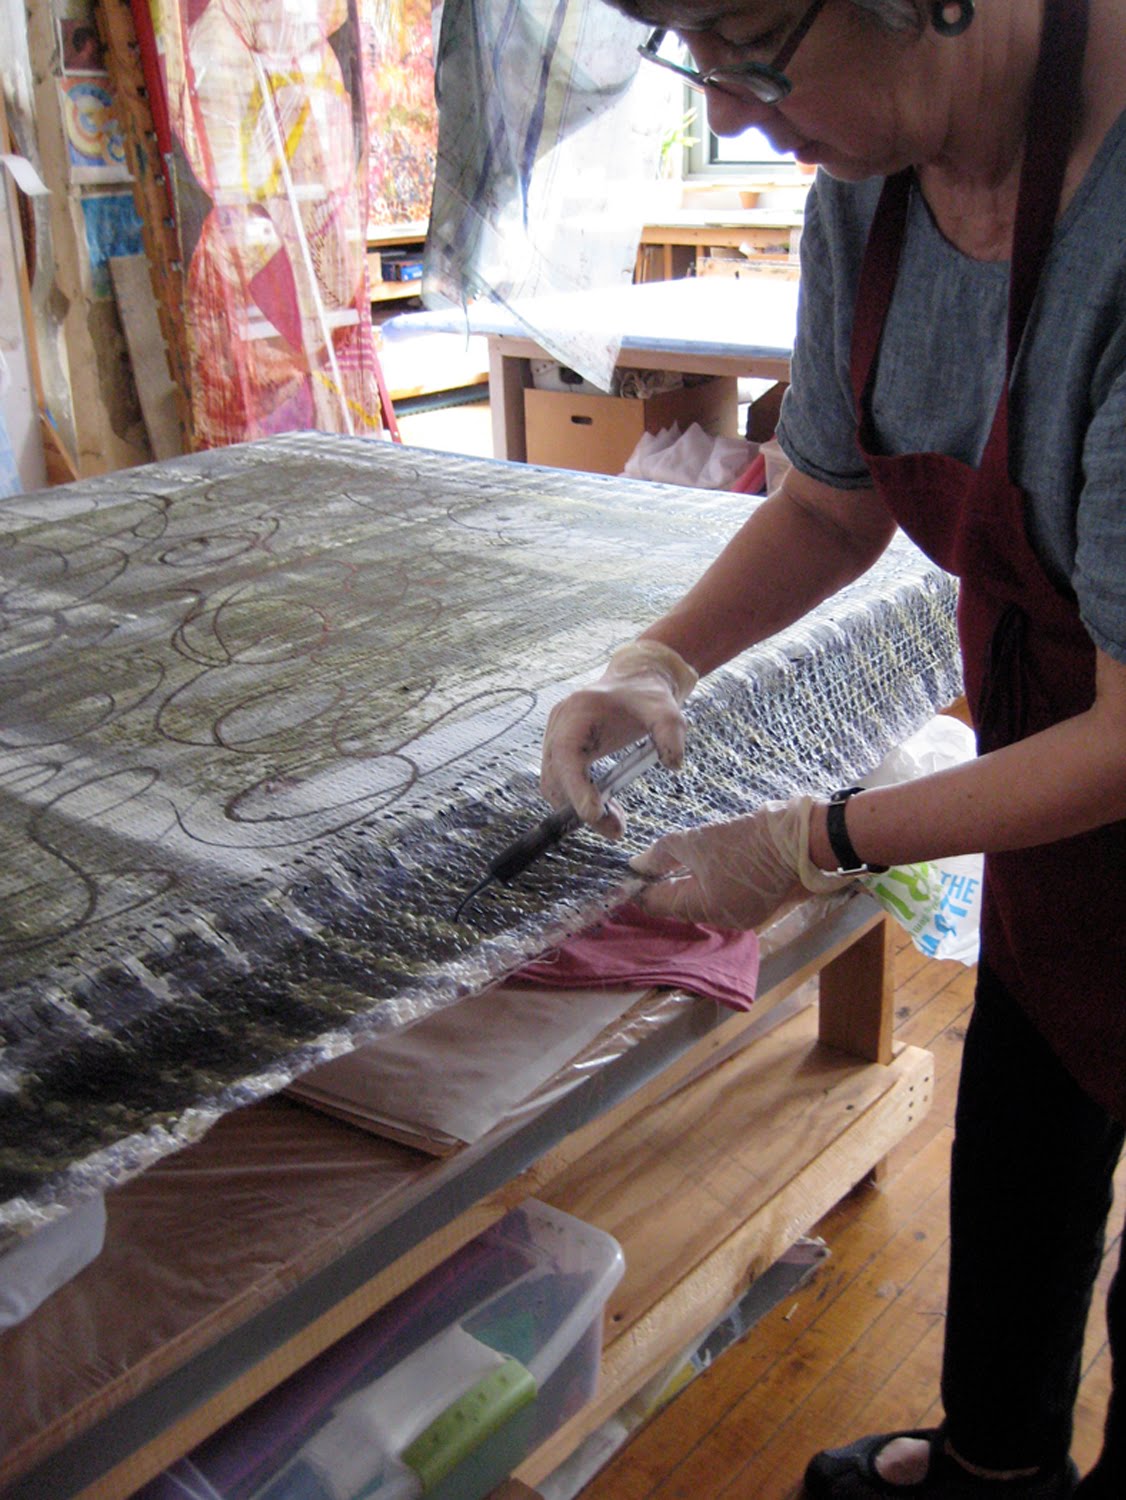
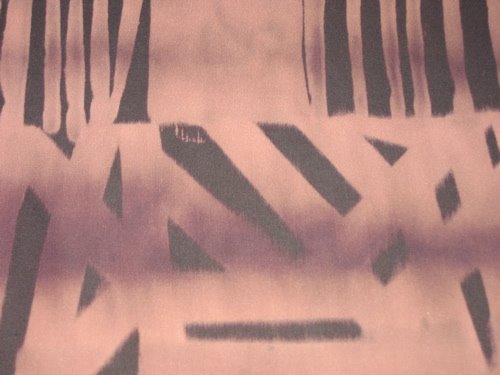
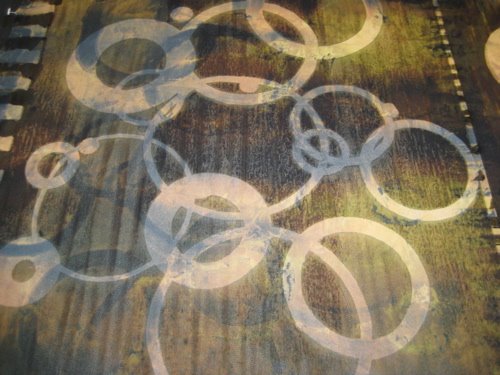
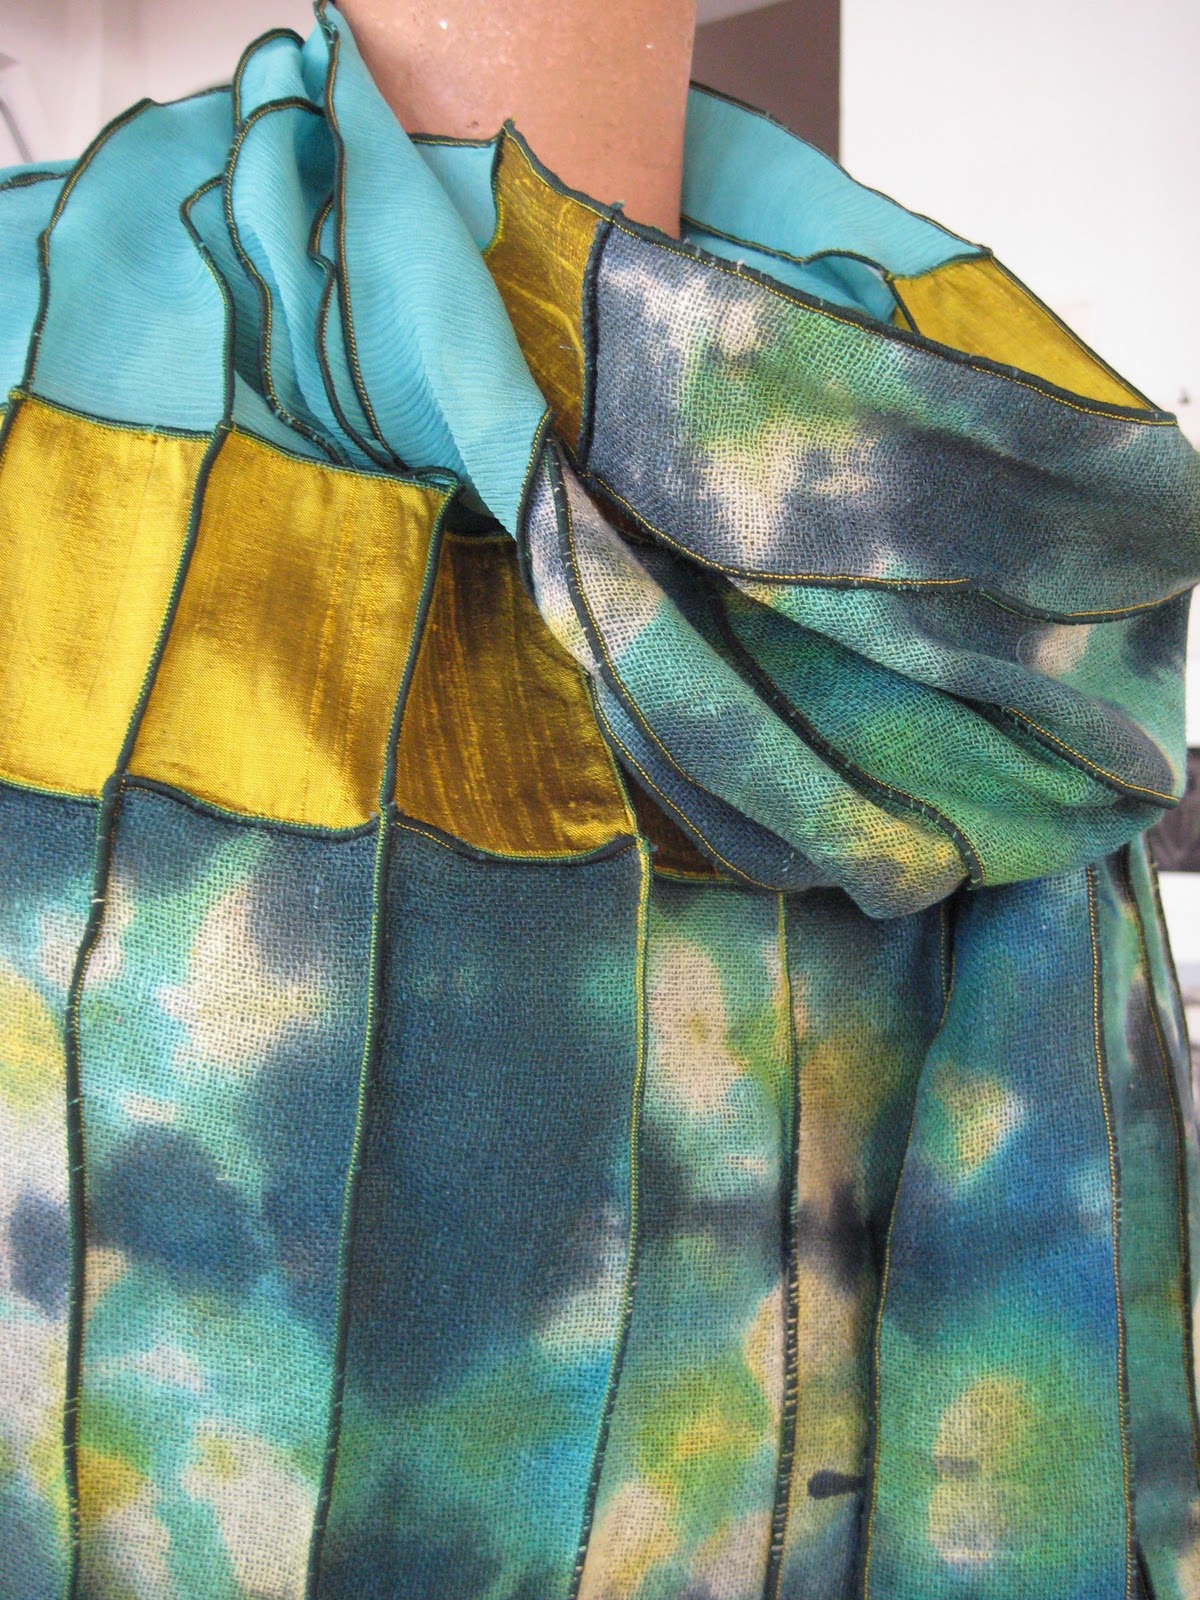
I did get here in time to take a few snap shots of the fruits of my "spring cleaning". I found small pieces of deconstructed and clamp dyed shibori that I could make into pieced scarves. Have not had time to have them professionally shot but will share them hot off the serger.

Clouds, blue sky and bronze

Clouds, blue sky and bronze

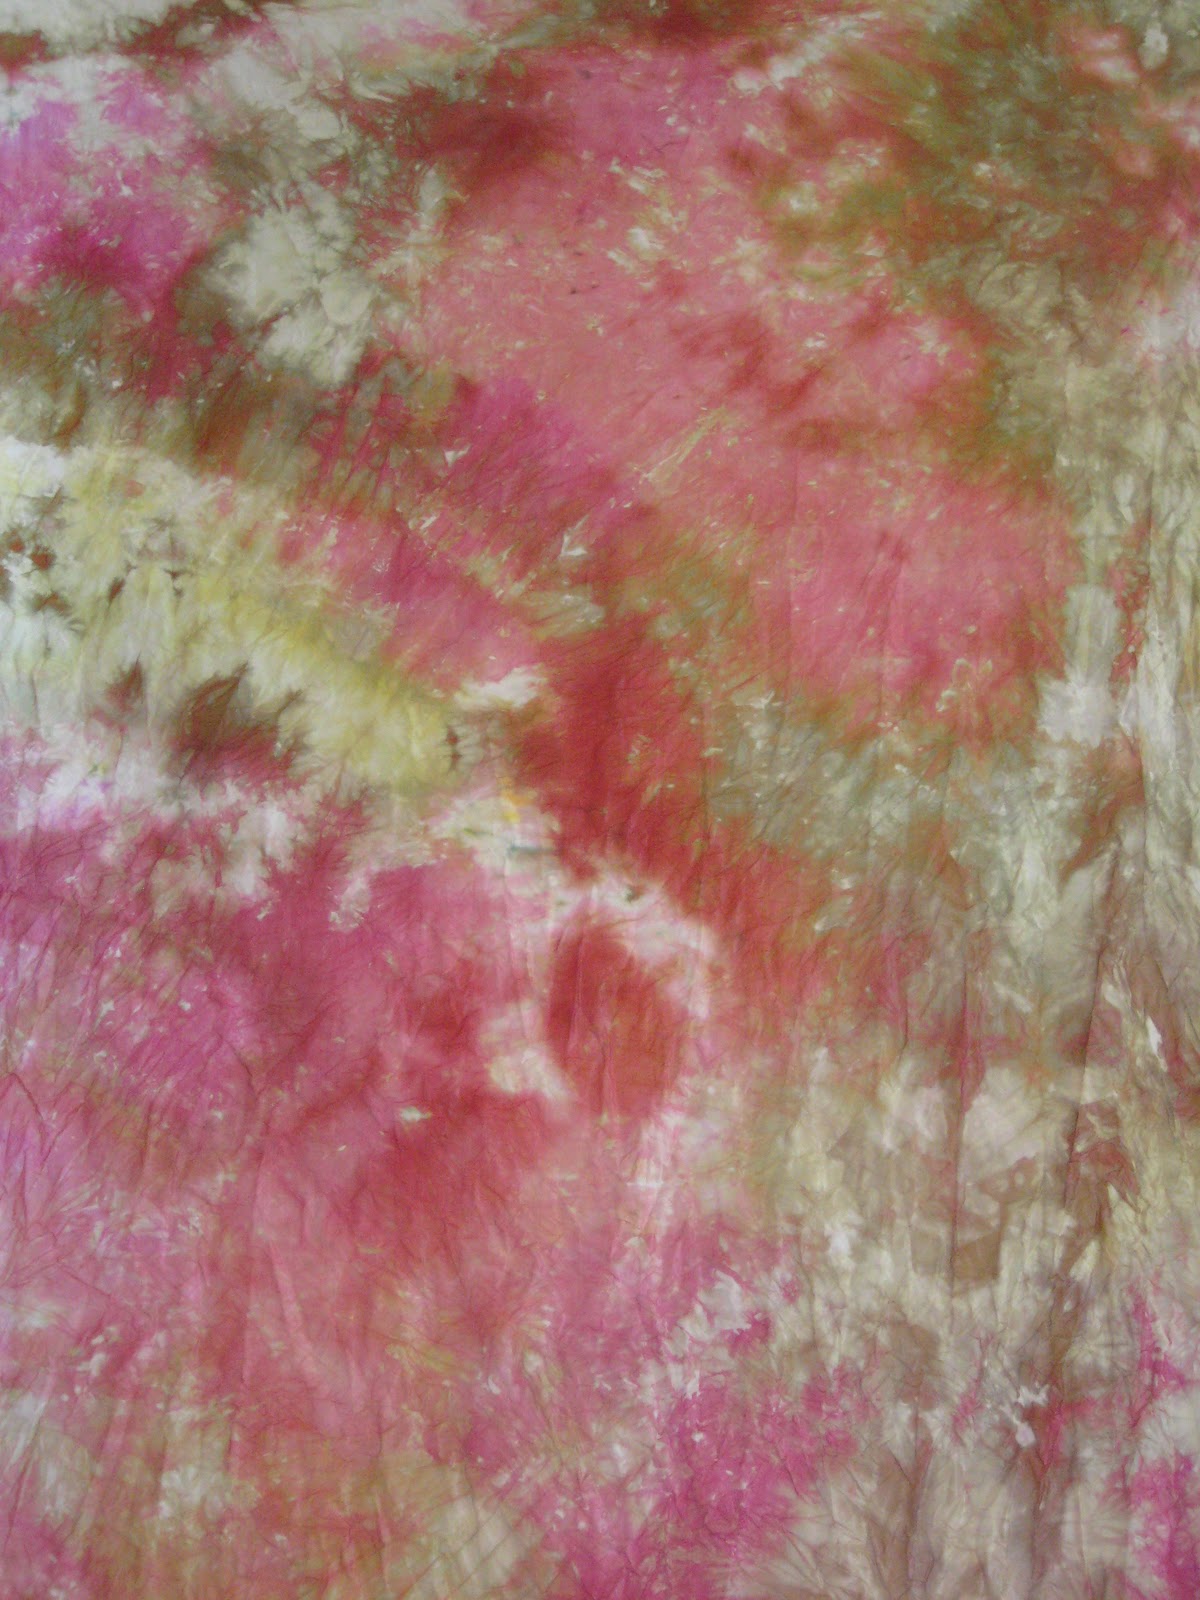
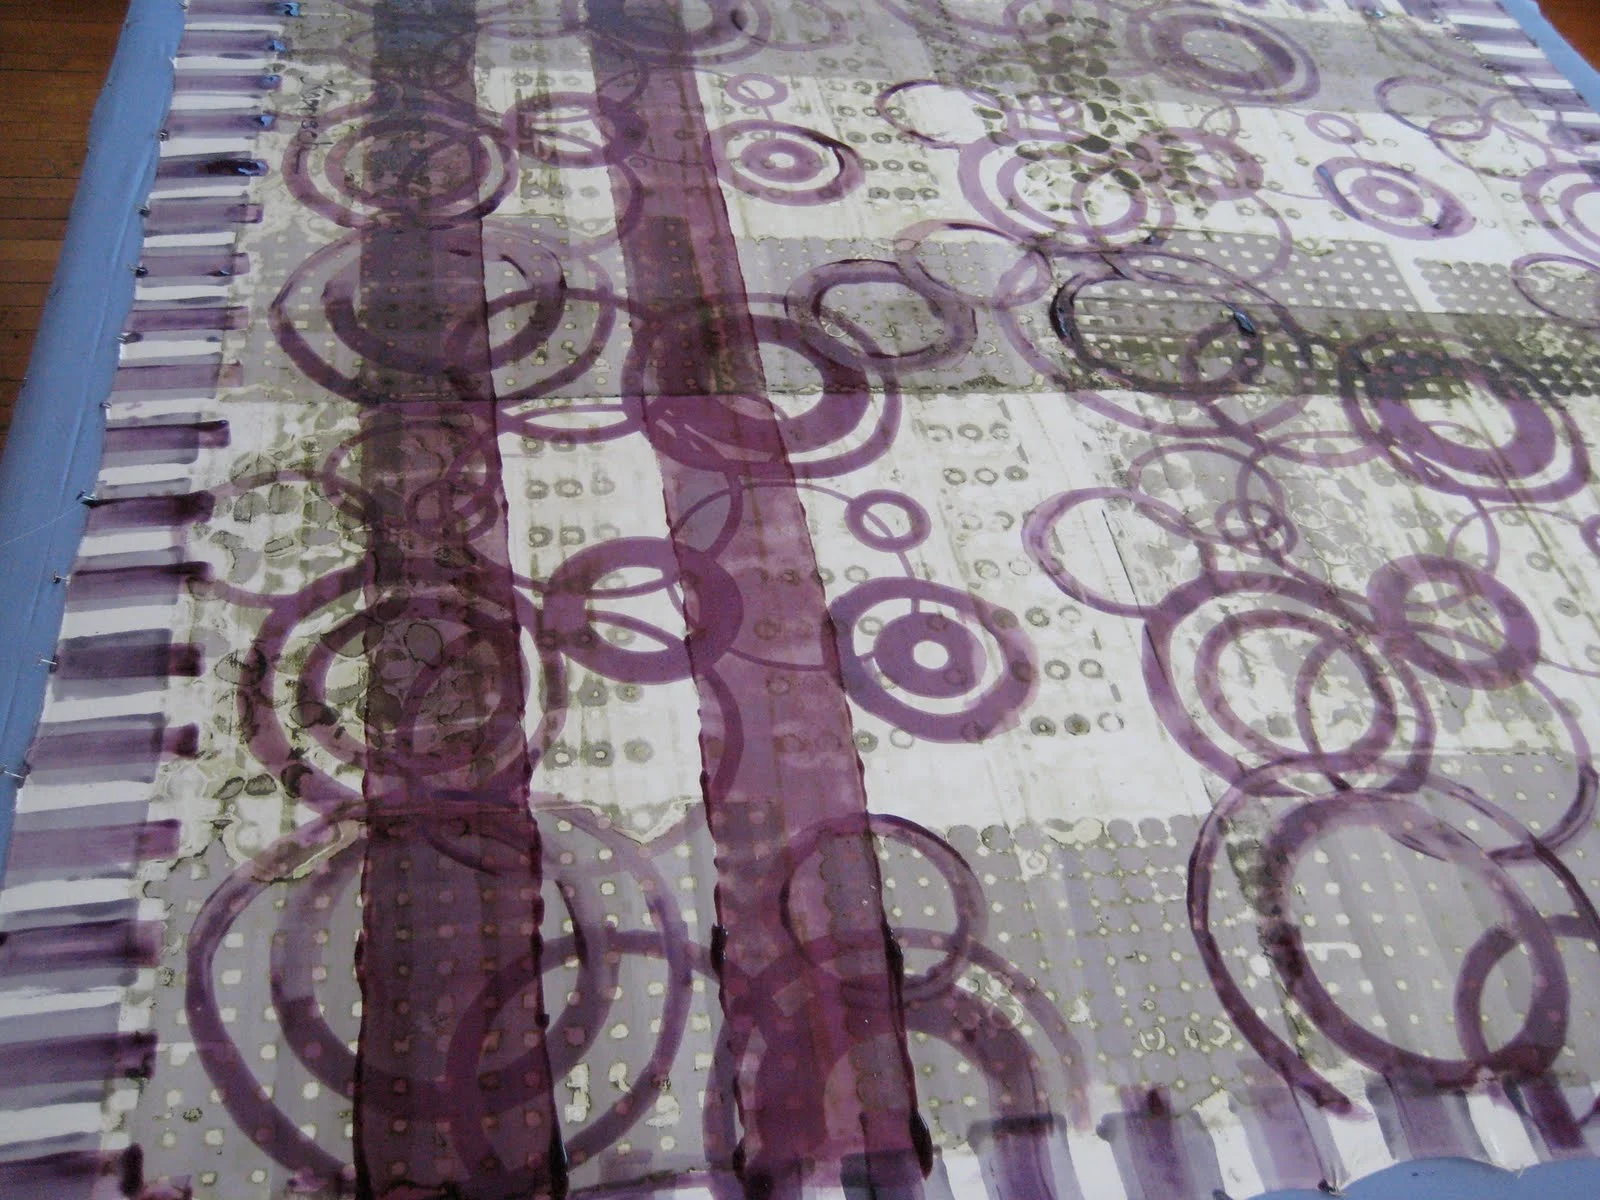
This shibori clamp dyed raw silk had been in my sample drawer for at least a year. It's use hadn't suggested itself to me until last week. I find the combination of colors and textures really exciting. The raw silk is lined with a deep sage colored silk gauze. 

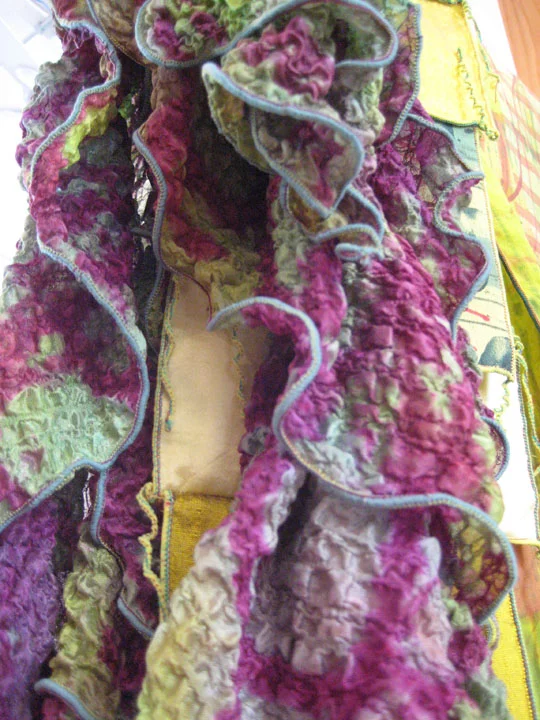
I only had a small piece of this deconstructed stonewashed crepe, but it was enough to form this new piece. The serged lines are really pleasing to me through the sheer pale chiffon.

Copper and Seafoam.jpg

Snow Dyeing

Well we have enough of it,  snow that is, but I was too busy yesterday to work with it. So I will post the results from last years experiments. 

  • I worked on a variety of fabrics - all silk. They were all soda soaked and taken outside wet in containers that they were squashed down into. I believe they froze as the snow fell on them, I left them outside for several hours. 

Snow dyed with MX and fiber reactive sitting on a silk screen

Snow dyed with MX and fiber reactive sitting on a silk screen

3 small bubble silk chiffon snowed dyed in the same container

3 small bubble silk chiffon snowed dyed in the same container

15MM habotai draining on a silk screen over the sink

15MM habotai draining on a silk screen over the sink

  • Next I brought the in to the studio and squirted them with premixed mx and some liquid reactive dyes.

  • I did several smaller pieces in the same container. They will become scarves that I call silk boas. I will post some finished ones below.

  • I let them drain over the sink sitting on a silk screen

  • I just left them to sit like that over night and the next day I packed each lump of silk in a large zip lock bag leaving the last inch of it unzipped so steam could escape and nuked them soaking wet for 2 min. in the studio microwave

snow dyed heavy weight organza.jpg

Each of the silks took the dye in their own ways. I was most pleased with this heavy weight silk organza that is still hanging just as it came out after being washed and dried. I am not sure if I will ever work back into it, so it is pinned to the curtain that hangs in front of my bookcase. Waiting for me to have a vision of how to finish it. 

Here are the snow dyed boas. 
 You can see that these were done on a crinkled silk chiffon.
  I really enjoy choosing the color to serge the edges with.

Ways to Finish

Screening with thickened dye on top of deconstructed first layer

Screening with thickened dye on top of deconstructed first layer

Rolling a third layer of dye using a foam roller

Rolling a third layer of dye using a foam roller

I frequently use a photo silk screened image to layer on top of the deconstructed marks. Then I might use a foam roller to add another layer of color.

Because I switch back and forth between powdered MX dyes and Liquid Reactive I use the bullet steamer to set the dyes. If I am doing a really small piece I will steam them while still wet in the microwave. Other wise I let them dry over night on the the table and then roll both the drop cloth and the silk around a card board tube and steam for about 30min.

reactive dyes.jpg
Working on the Baby Lock serger

Working on the Baby Lock serger

Silk organza Faux Kimono with serged edges

Silk organza Faux Kimono with serged edges

Once they are done steaming they get washed in the washer and dried in the dryer.

The final step is serging... I love having the option of the color choice for the rolled edge.

Still Making a Scarf

Drawing with extruder.jpg

Typically I would have gotten about as far as I did in yesterdays post in one work day in the studio, depending on how long it took for the dyes to dry between layers. I will over print if they are still damp, but not wet, so that they don't smear.

I use lots of things to draw with... the image on the top was dip dyed blue, then stretched and brushed with brown and now I am using a squeeze bottle to draw on it with.


The image in the center shows fabric that hangs off the edge of the table so I am using an extruder to draw over the foam brushed edge.

The image on the bottom shows the extruders. I get mine from my vet as they are used to give animals liquid medicines. I pay about $1.00 for them and they are great to draw with.

Making a Scarf

I almost always start by stretching the fabric on a large padded table that I have in the studio.

Typically I have made a deconstructed silk screen using thickened and dried reactive dyes and I transfer this to the stretched silk with more thickened dye.

Kerr Grabowski taught me this method and I love the marks that it leaves on the silk. I print the screen the length and width of the pinned fabric and each time I print it the image changes as it is essentially a monoprint process and the dried dye is dissolving with each transfer.

Stretched+silk+2.jpg
deconstructed silk screen .jpg
multiple pulls.jpg
adding second layer.jpg

Once the first layer is down I decide how I want to work back into it. I can draw directly, screen another layer, roll on dye... there are lots of ways to attack this surface and I have no set pattern.

Happy 4th

It is a gorgeous breezy day here in the studio.. something to truly celebrate in what can be hot and humid Philadelphia. Working on organza for another kimono ... while trying to ignore the tantalizing smell of barbecued chicken wafting in the open windows. I increased the amount of dry dye powder in the paste to make the deconstructed screen, using SH for the thickner and released it with F. Worked much better than recent attempts and held the dye for 6 full screenings.

Seaweed

Mixed up a nice bronze/green and screened back into the discharged piece using the same circle screen. Followed that with a deeper blue using the tree bark screen. Will finish by drawing darker circles.

Soda Ash Surprise

My first day as a blogger. I forgot a piece of discharged chiffon that I was soaking in soda ash. It stayed in the soak overnight and this morning it had a warm pale coral that hadn't been there prior to the soak. This piece was was discharged 2x, first with Jaquard paste... then steamed but not enough discharged. Next I printed it again this time with Thiox paste and steamed while the paste was still quite wet... and I lost almost everything. I feel a bit like Goldilocks. Now I am going to dye it again using the same screen I used to discharge it.